Another day, another Photoshop tutorial. As usual, I got an image with a close-up of a pretty face, and I’m not going to do anything good to it 
Today I’ll add a sad dead wood effect to face of this young lady in the picture. This kind of effects are not just made for fun, they are great for creating outdoor advertisements, print media ads, and visual designers can use the Photoshop file to make some stunning visual effects as well. Keep following these tutorials, they will gear you up for creating good photo manipulations. And I’m going to make some image manips very soon.
I saw this image on a webinar about young girls and their parents. Here’s the Link. There I saw this photo and immediately I felt that some photoshopping can enhance this photo a great deal.
FINAL RESULT
From This

To This

Download Source PSD
Step 1
Take any image of your choice.

Step 2
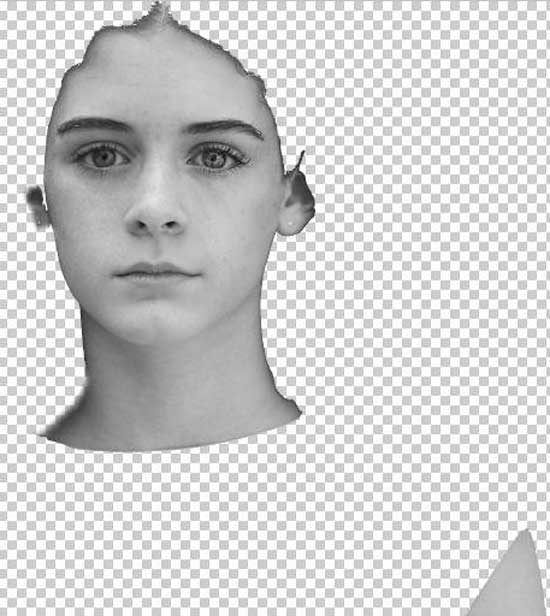
Select the pen tool and make the selection of the area on which this “Wood Effect” will be applied. Once the path (selection) is complete, press CTRL + Enter, this will convert the path to a new marquee selection. Now copy these pixels (A marquee tool has to be selected to copy a selection) into a new layer. We’ll call this new layer Face Layer.

Step 3
This step is tricky.
First convert your image into grayscale by using Image > Adjustment > Black & White and put these values for gray scaling:

Now select Face Layer apply another gray-scaling. Using the same command of Image > Adjustment > Black & White and put these values for gray-scaling, but this time, only to the Face Area. With this gray scaling, we are enhancing the tones of the face and it will look a lot expressive. This is a good practice for converting colored images to Black and White.

Step 4
Now let’s boost the shine of the eyes by making it more sharp with Sharp Tool. Just click and drag (like using brush tool) over the eyes.

Step 5
Now, deactivate all the layers except Face Layer. That’s where we’ll make the desired wood effect. The preview should be like the Image Below.

Wallpaper to wood effect – grab from here and it is created by Omphaloskepsis99
Let’s get to some serious business now:
- Open the texture image
- Put this image as a new layer on top of Face Layer. This new layer would now be called Texture Layer.
- Press Ctrl+Click on the texture layer thumbnail – the texture layer is now selected.
- Press Ctr+Click on the face selection layer – then only the face selection is selected.
- Press Ctrl+Shift+I – this Struck select the inverse of the face selection.
- Press Del.
After doing all this, you should have this get this selection.

Step 6
After deleting the inverse selection of the texture layer the result is this. Then change the layer Blend Mode to Overlay.

Step 7
Now you should be getting this result. This in itself isn’t too bad, but it still lacks the professional touch.

Step 8
Now is the time for Masks. Select these values of the color. Click on the Brush tool, select a soft brush and draw the mask.
…and change the layer blending mode to overlay.


Step 9
Double Mask
Add another mask, select these values of the color for the detailing and select the soft brush to draw the mask, just like we did in the previous step.
and again change the layer blending mode to overlay.


FINAL RESULT
Heureka, we’ve succeeded! Enjoy:


0 التعليقات:
إرسال تعليق